Hands down, the best job I have had while interning at the BRTC was preparing mammal skins for the collection. Although I haven’t had much time to prep any skins on my own, I am hoping that will change in the last few weeks of my internship. Of all the tasks given to me this semester, it is not only the most fun but has also been the most rewarding experience of my time here. Prepping a mammal and providing a skin and corresponding skeletal material to the collections allows me a rare opportunity as an undergraduate to actually contribute to the scientific community –even if it is on relatively small scale. Hands-on projects that require a certain degree of dexterity and finesse have always been my strong points so this was something I was eager to learn about from the beginning. However, after a few sessions of sitting with Dr. Light learning on how to carefully remove the skins from a couple of different types of mice, I realized just how hard this can be. Working delicately to remove the skin while preserving the fragile tail, nose pad, ears, and limbs of a specimen that weighs only a few grams proved more challenging than I anticipated. I learned it is definitely a skill that takes a lot of practice before anyone becomes good at it. Specimen preparation is somewhat of an art and working on this task gave me an appreciation for all the specimens currently in the museum that are so neatly stuffed and sewn together that they almost appear life-like. From the start of my career as a Wildlife and Fisheries Sciences student, I was always told to give a lot of respect to the animals that gave their lives to science. After viewing the work that goes into each specimen preparation, I gained a greater insight as to why that is.
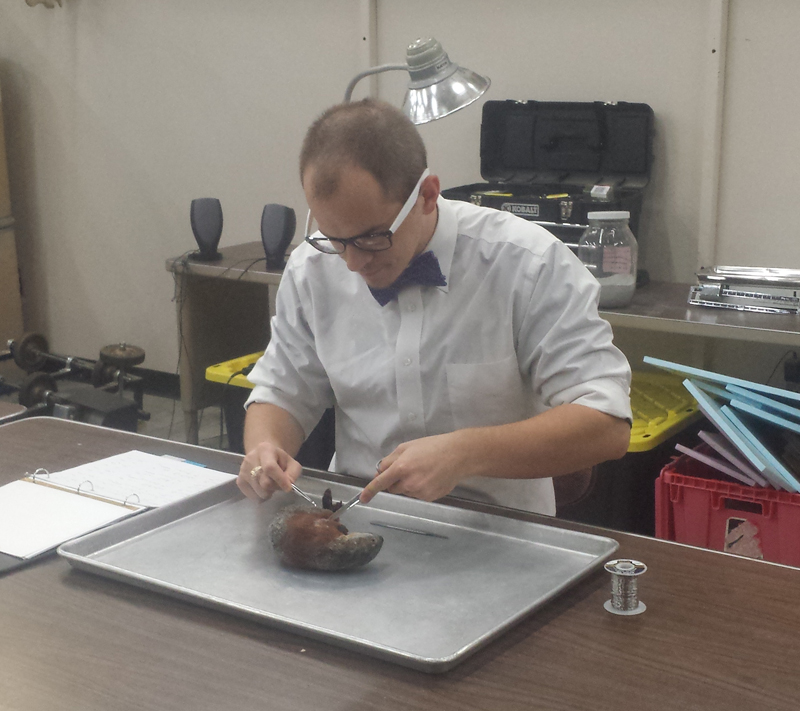
Preparing mammal specimens for the BRTC collection.
Specimens are generally either collected from field research or are donated by private sources. The BRTC has several of these specimens that still need to be prepared and entered into the collections. To start the process, a mammal is taken out of the storage freezer and left in the fridge or table to thaw out. A solid frozen mouse would obviously be very hard to work with, so it needs to thaw and soften up before the skin can be removed. Once the specimen is ready, we record the genus and species into a log book along with lengths of body, hind foot, tail, and ear, and approximate weight. The next step is to determine the gender of the species by observing the genital region followed by collecting any potential ectoparasites in a vial by brushing the fur. After these steps, the skinning process can begin and a small incision is made in the abdomen. It is ideal not to cut too deep so you avoid cutting into the gut. I made this mistake my first time when I accidently nicked the large intestine and had to deal with goop leaking out for the remainder of my prep. Most of the work after this is done with your fingers and a probe to separate the skin from the body cavity wall. Working outwards from the incision towards the hindlimbs, the skin is peeled back over the legs towards the foot until another small incision is placed at the foot to slip the limb out of the skin like a sock on the left side of the body. This results in the bones from the left limbs staying with the skeleton so future researchers can examine the bones from the specimen. On the right side of the body, the bones of the hind and forelimbs are cut and kept with the skin allowing for research of the skin (toe pads, etc.). Once the hindlimbs are removed, the tail sheath is pulled off the tail to release the tail vertebrate, and the skin is pulled back up over the forelimbs leaving the head for last. The skin is pulled up over the neck and the tissue connecting the ear canal, eye socket, and nose pads are snipped to release the skin in what should hopefully result in an intact empty “skin suit”. The skin is then carefully stuffed with cotton to create a full body effect, sewn up, and pinned to a rack to dry. The skeleton is given a tag and saved in the freezer until there is room in the dermestid colony to process the skin. The entire process can take several hours, and for a novice can be incredibly frustrating at times. Once a mistake is made, it is very difficult or impossible to undo. Regardless of the challenges behind it, I still immensely enjoyed learning the skinning process and was glad to contribute even just a handful of specimens.